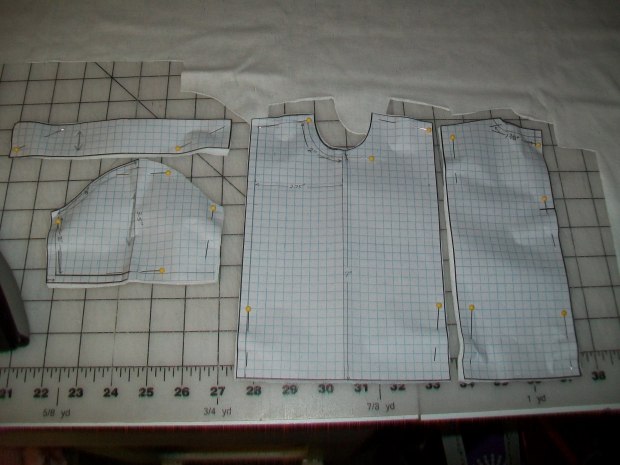
Good morning, Internet-Land ~ well, at least here in Oregon it’s morning. I hope all is well with you. Today I’m going to show the steps I use in sewing the T-Shirt pattern I posted earlier on February 27, 2018 (which can be easily downloaded from my “Ready To Print” page). So, without further ado, here we go. Shown is the layout of cut pieces. I use a soft knit that’s great for T-Shirts. You need to cut one of the front, one collar, two back pieces, and two sleeves.
Step 1 – Prep-sew. Serge (or zig-zag) the center back edges to prevent ravelling or fraying. Do the same with sleeve hems, then also hem the sleeves.

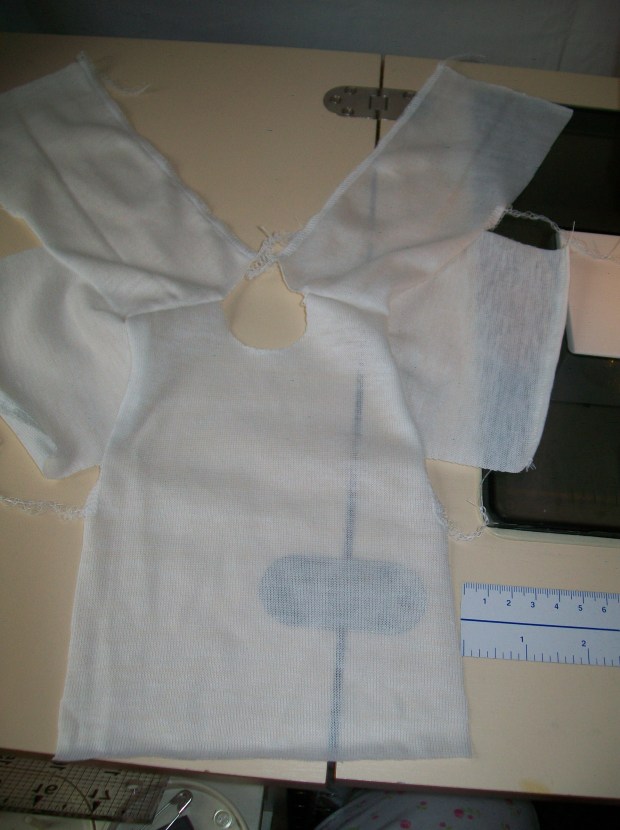
Step 2 – attach front to back at shoulders.

Step 3 – Pin the upper edge of the sleeve shoulder to the sleeve opening, matching the center of sleeve shoulder to the shoulder seam of the shirt. Do this for both sleeves. Sew sleeves to shirt. Then open out to make sure there are no pleats in the armhole seam.

Step 4 – Fold collar length-ways with right sides together and stitch ends closed.
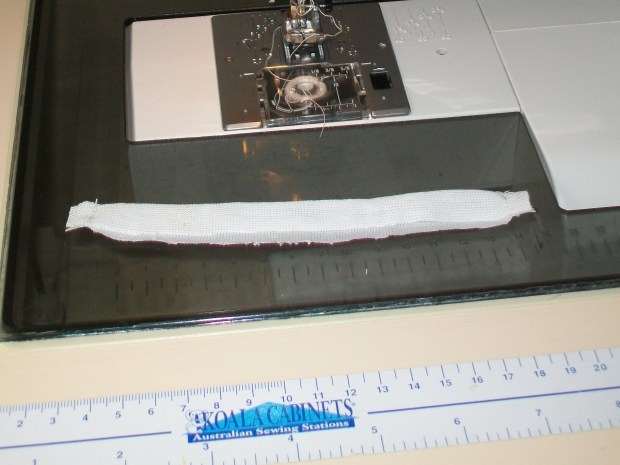
Step 5 – Turn the collar right-side-out and fold to find center. Mark the center with a pin.

Step 6 – Pin center of collar to center front neckline of shirt.
Step 7 – OK, this next part can seem a bit tricky, but is still pretty simple. You need to fold center back finished edge of shirt .25″ in, so that the wrong sides are together and the right side will be a nice finished edge. Then stretch the collar so the finished fold of the back center shirt edge fits with the finished end of the collar. Do this for both sides and pin the ends in place (you can also place a pin at the shoulder seams while the collar is stretched to help hold things in the right place). You will sew the shirt neckline to the collar while stretching the collar. NOTE: If you’re an experienced sewer & SUPER ambitious, you can sew the shirt to only the front side of the collar, tuck the seam into the collar, then fold the back/inside of the collar seam allowance up into the collar & hand-stitch in place.


Step 8 – Sew the side seams starting at the sleeve hems, sewing to the underarm, then sewing down the sides to the shirt hemline. (I use my serger for these seams.)
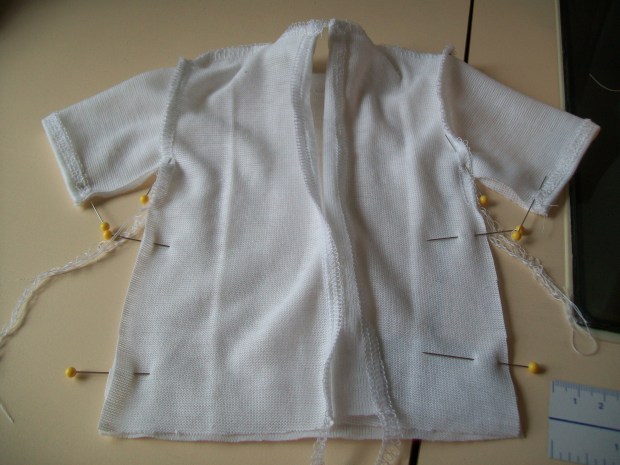
Step 9 – With right sides together, now sew from the opening mark on the center back down to the shirt hemline. Be sure to back-tack at beginning and end of seam. I usually do a little extra back-tack up by the neck opening just to give a little more security, as this will get more pull when the shirt is taken on and off over the head.

Step 10 – Now all that is left is to hem the shirt and place a snap at the back of the neck!


And there you have it ~ a nice finished T-Shirt! You can now add your own alterations to give a more fitted look or to add long sleeves. Enjoy & happy sewing!
