WOW! Good To Be Back!

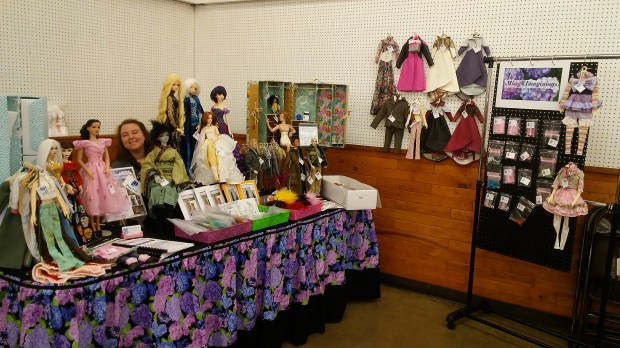
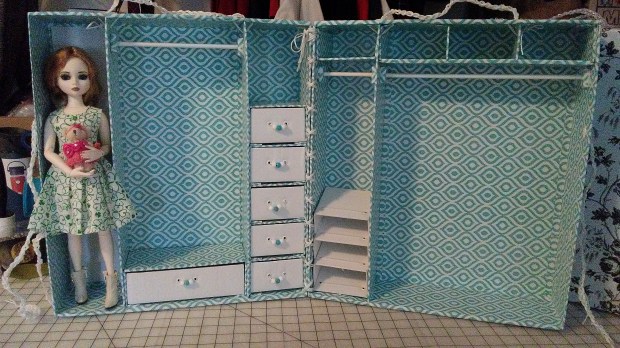
Howdy, howdy, Internet-Land! I’m glad to be typing again. I’ve had a very busy month, but I suppose that’s a good thing. Last weekend was my bi-annual Doll Show at the Polk County Fairgrounds here in western Oregon. I was very busy sewing in preparation for the event, so that took most of my free time. I had a really good day, meeting with friends and collectors. (That’s my daughter in the photo ~ she’s my helper.) I had made a couple doll cases with a new layout design, but they sold early, so will show one after the picture of my table. This post is full of photos, so sit back for a fund read with a surprise for you at the end!

0324181106

0216181227_Burst01

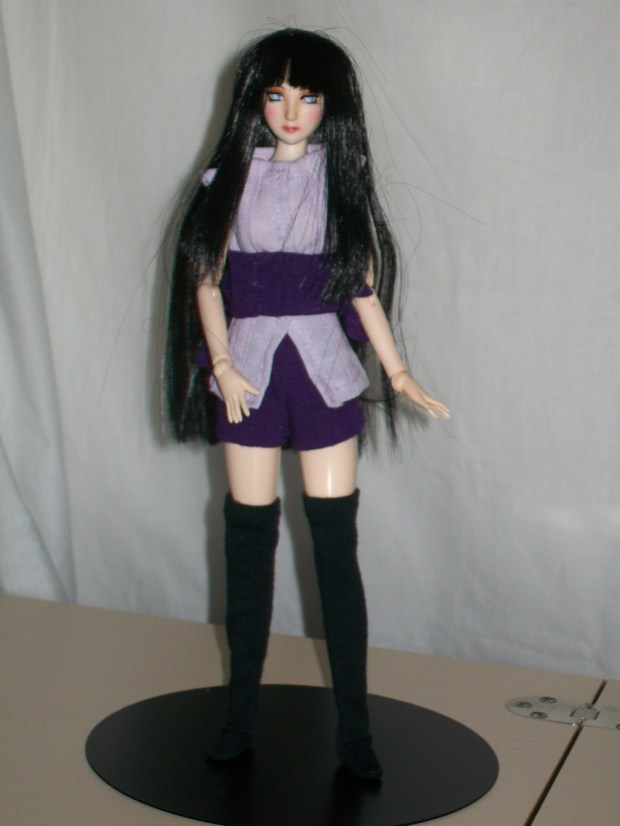
One of the highlights was seeing a young collector friend and connecting her with a new addition to her collection, my custom Hinata (from the anime series, Naruto Shippuden). This doll was made using an Obitsu head & magnetic footed body. I also got her an extra set of hands. Then I did her face-up and created her outfit. I was so glad to see her move to her new home where she will be very much loved!

102_0887

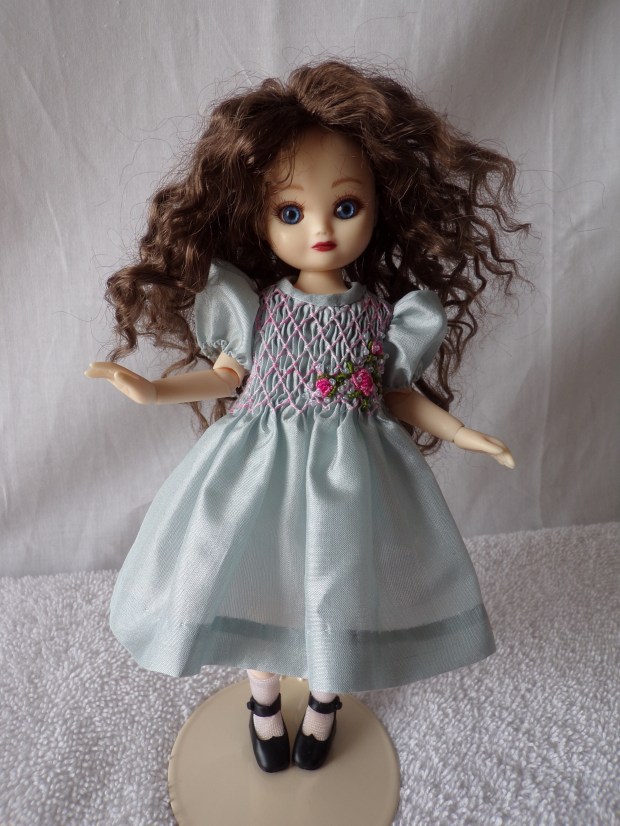
Another fun part of the show is getting to see all the other vendors and looking for treasures to add to my own collection. I don’t generally shop a lot, as I am there to sell ~ not buy, but sometimes I can’t resist. Such was the case when I saw this lovely little hand-smocked dress that is perfect for my resin Tiny Betsy McCall! I have adored this lady’s work for quite a while now, so decided to acquire some of her craftsmanship. It is truly a piece of art!

KODAK Digital Still Camera

Most of my sewing time for the show was dedicated to the fellas. I felt they had been a bit neglected recently, so took some time to restock my male apparel stash. I had fun creating some new looks for the Tonner men. I am particularly happy with the cammo puffy vest, sporting a real zipper and inset pockets. The display also included a new trench coat, flannel shirt, and pleated pants (also having real inset front pockets).

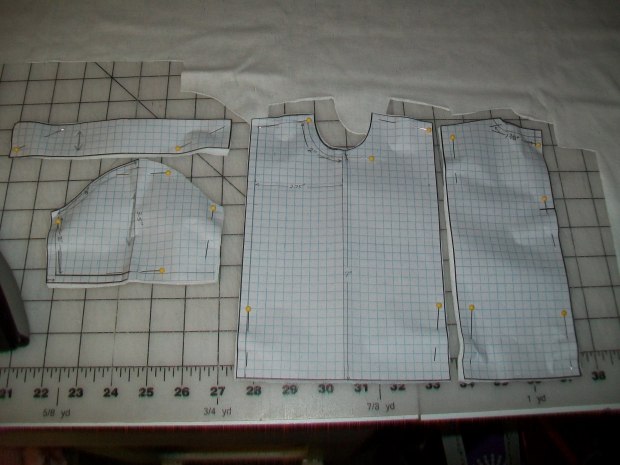
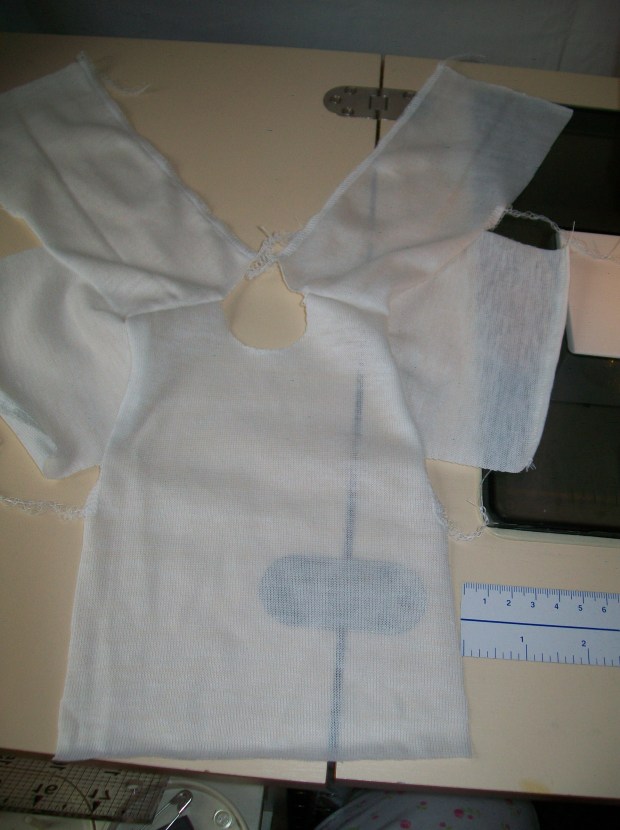
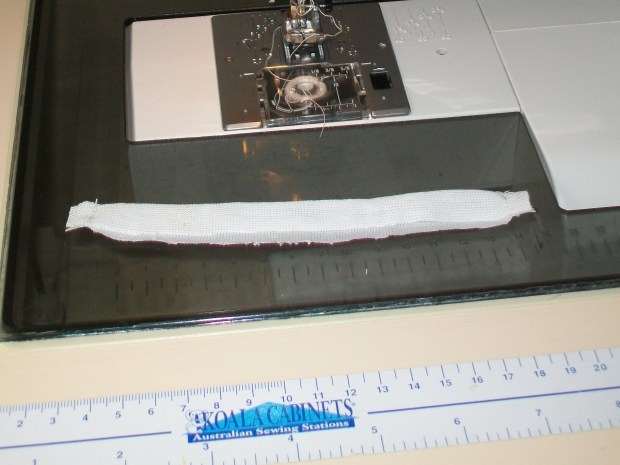
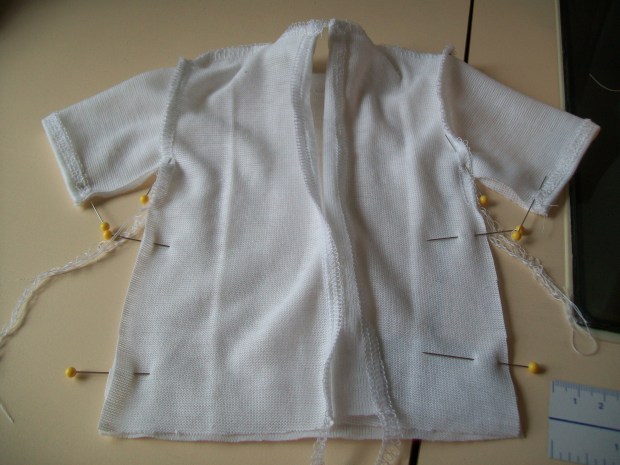
And now for your surprise! A new project was this Kimono/Yakata Set for my 1/3 scale MirroDoll Rain (65cm). I am posting the pattern for the Kimono Set here on the website through the end of April. These are the actual pattern pieces I used to make the set, and I also added a piece to make a long skirt. (Some pieces will need to be assembled before pinning to & cutting fabric.) You can pop over to the “Ready To Print” page to download this pattern. It is formatted to legal size paper (8.5″x14″).

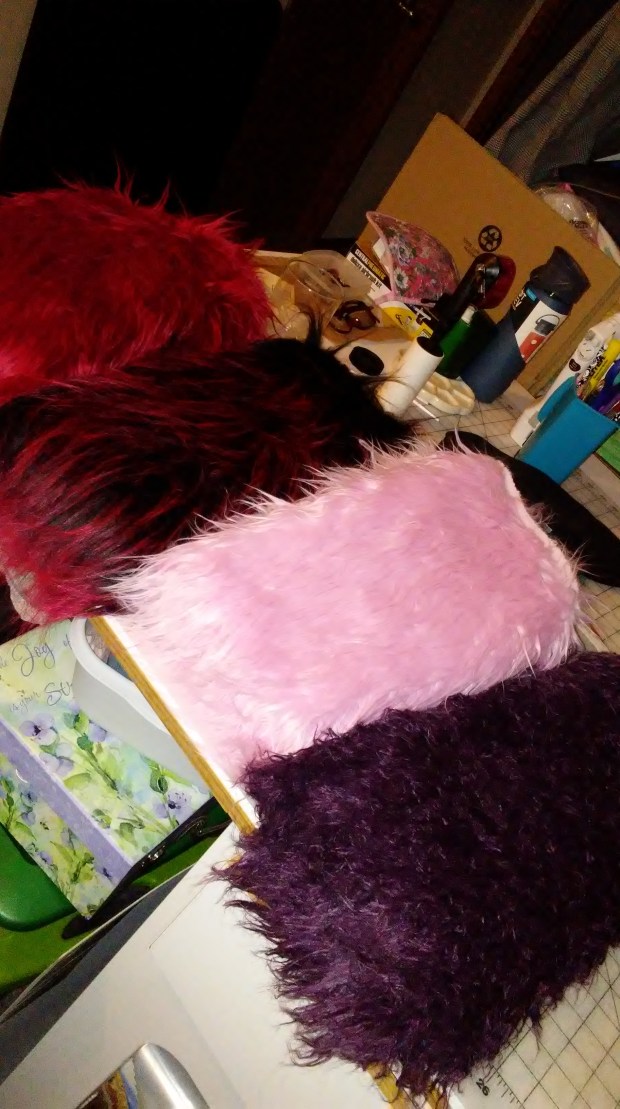
The last addition to my show was the purchase of some great colored furs to make wigs. Sold a few, too!

Well, that’s about it for now. I do have some ideas for a new paper doll series, but that is still in the works, so will wait for another day. Thanx for coming by to spend some time with me. Enjoy and have a super great weekend! ~ missy

Advertisement

New Lavender and Nanette Outfits and Video

Happy Evening, Internet-Land. Today I have been working on some new outfits for my Lavender & Nanette Paper Dolls. I wanted to make another video of the set being drawn, but was having lots of trouble trying to record with my new camera. I don’t know, maybe it’s because this camera uses so much battery, and the ones I had were losing juice. In any event, I tried twice with the new camera to no avail. That means I had two sets of new outfits, but no video. So, I went back to my old little freebie camera (an amazing story in itself ~ maybe I’ll share it later), and filmed yet another set of outfits. It’s all good, however, because it means THREE new sets for YOU! I’ll post images of the new sets below the video link, and they are now included in the Lavender & Nanette pdf file on my Ready To Print page. Enjoy!

Sewing the Mortimer T-Shirt

Good morning, Internet-Land ~ well, at least here in Oregon it’s morning. I hope all is well with you. Today I’m going to show the steps I use in sewing the T-Shirt pattern I posted earlier on February 27, 2018 (which can be easily downloaded from my “Ready To Print” page). So, without further ado, here we go. Shown is the layout of cut pieces. I use a soft knit that’s great for T-Shirts. You need to cut one of the front, one collar, two back pieces, and two sleeves.

102_1616

Step 1 – Prep-sew. Serge (or zig-zag) the center back edges to prevent ravelling or fraying. Do the same with sleeve hems, then also hem the sleeves.

102_1617

Step 2 – attach front to back at shoulders.

102_1618

Step 3 – Pin the upper edge of the sleeve shoulder to the sleeve opening, matching the center of sleeve shoulder to the shoulder seam of the shirt. Do this for both sleeves. Sew sleeves to shirt. Then open out to make sure there are no pleats in the armhole seam.

102_1619

102_1620

Step 4 – Fold collar length-ways with right sides together and stitch ends closed.

102_1622

Step 5 – Turn the collar right-side-out and fold to find center. Mark the center with a pin.

102_1623

Step 6 – Pin center of collar to center front neckline of shirt.

Step 7 – OK, this next part can seem a bit tricky, but is still pretty simple. You need to fold center back finished edge of shirt .25″ in, so that the wrong sides are together and the right side will be a nice finished edge. Then stretch the collar so the finished fold of the back center shirt edge fits with the finished end of the collar. Do this for both sides and pin the ends in place (you can also place a pin at the shoulder seams while the collar is stretched to help hold things in the right place). You will sew the shirt neckline to the collar while stretching the collar. NOTE: If you’re an experienced sewer & SUPER ambitious, you can sew the shirt to only the front side of the collar, tuck the seam into the collar, then fold the back/inside of the collar seam allowance up into the collar & hand-stitch in place.

102_1624

102_1625

Step 8 – Sew the side seams starting at the sleeve hems, sewing to the underarm, then sewing down the sides to the shirt hemline. (I use my serger for these seams.)

102_1626

Step 9 – With right sides together, now sew from the opening mark on the center back down to the shirt hemline. Be sure to back-tack at beginning and end of seam. I usually do a little extra back-tack up by the neck opening just to give a little more security, as this will get more pull when the shirt is taken on and off over the head.

102_1628

Step 10 – Now all that is left is to hem the shirt and place a snap at the back of the neck!

And there you have it ~ a nice finished T-Shirt! You can now add your own alterations to give a more fitted look or to add long sleeves. Enjoy & happy sewing!

The Best Customer Service

Good afternoon, Internet-Land! We have a saying where I work: “The best customer service is not having to call Customer Service!” How true, right? The absolute best experience is having things correct from the get-go. Well, when good things happen, I like to share it. The other day I went shopping on-line at The Fabric Depot. For me, it’s pretty local ~ being located in Portland, Oregon, US, but still ~ Portland is about 60 miles away from me. I didn’t want to drive all the way there in big city traffic just for a quarter yard of red fur. Hmmm. “Well,” I thought, “I’ll try their online store and see how it goes.” After going to the site, I found their furs were on sale, so I decided to make my time worth while. I ordered a quarter yard of four different colors: red, red/black, pink, and purple. I was a bit apprehensive as to whether or not they would even process orders containing only quarter yards. Not only did they process the order and ship it amazingly fast, but they ALSO sent MORE than I ordered! Each selection is at least 3 inches more, and one piece is almost a half yard. Now, THAT’s great customer service! I will definitely be shopping with them again! I don’t know how they are when it comes to international shipping, but it’s worth checking out. If in the states ~ go for it!

https://www.fabricdepot.com/

0302181642a